Table of contents
In the vast and varied world of e-commerce, choosing the right platform for your online store can mean the difference between success and failure. Among the many options available, Shopware emerges as an intriguing solution, offering a unique combination of flexibility, power and ease of use. But what exactly is Shopware and what makes it different from other hosting platforms? Most importantly, is it a suitable choice for everyone, even those without great technical skills? In this article, we will explore the main features of Shopware, highlighting its strengths and guiding you through the installation process on a Linux hosting.
What is Shopware?
Shopware is an open source e-commerce platform designed to offer entrepreneurs and online store owners maximum freedom and flexibility in creating and managing their e-commerce sites. Founded in Germany in 2000, Shopware has steadily evolved to meet market needs, becoming one of the most popular solutions both in Europe and internationally.
One of the distinguishing features of Shopware is its open and modular architecture. This means that users can customize almost every aspect of their site, from design to functionality, using a vast ecosystem of plugins and themes. In addition, Shopware provides a range of integrated marketing tools and advanced SEO features to help merchants optimize online visibility and increase conversions.

What makes it unique compared to other ecommerce platforms
Shopware differs from other e-commerce platforms for several reasons. First and foremost is its flexibility and scalability, making it suitable for both small businesses and large enterprises. Its open architecture allows for unprecedented customization, enabling users to create a unique shopping experience for their customers.
Another distinctive aspect is Shopware's focus on user experience, both for customers and site managers. The platform offers an intuitive and user-friendly interface that makes it easy to manage products, orders, and customers. In addition, thanks to its robust API, Shopware easily integrates with a wide range of external systems, such as ERP, CRM, and logistics management systems, facilitating the automation of business processes.
Is it difficult to use?
Despite its rich feature set, Shopware is designed to be accessible even to those without advanced technical skills. Installation can be done with a few clicks through hosting control panels offering Softaculous or similar tools, making the process quick and painless. In addition, the extensive online documentation, tutorials and community support forums provide valuable resources to resolve any doubts or problems.
The official guide to installing Shopware 6 offers a detailed and clear path to getting your e-commerce platform up and running. Here is a summary of the main steps for installing on a Linux hosting environment, including specific commands you may need during the process. This guide assumes you have SSH access to your server and have already set up a LAMP (Linux, Apache, MySQL, PHP) or LEMP (Linux, Nginx, MySQL, PHP) environment.
Steps for Installing Shopware 6
-
Preparation of the Environment Before you begin, make sure your server meets the minimum system requirements for Shopware 6. These include:
- PHP 7.4 or higher
- MySQL 5.7.21 or higher or MariaDB 10.3 or higher
- Apache 2.4 or Nginx
- The PHP extension intl, gd, opcache, pdo_mysql, json, curl, mbstring, xml, and zipper must be enabled.
-
Downloading Shopware Connect to your server via SSH and navigate to the directory where you wish to install Shopware. You can download the latest version of Shopware using wget or curl. For example:
cd /var/www/html wget https://www.shopware.com/en/Download/redirect/version/sw6/file/install_v6.4.5.1_1660750754.zip -
Shopware Archive Extraction Once the download is complete, extract the contents of the zipper archive to your web directory. You can do this with the following command:
unzip install_v6.4.5.1_1660750754.zip -
Database Creation Before proceeding with the web installation, you need to create a database for Shopware. Log on to your MySQL or MariaDB and create a database and a user with the necessary privileges. For example:
mysql -u root -p CREATE DATABASE shopware; CREATE USER 'shopware'@'localhost' IDENTIFIED BY 'password'; GRANT ALL PRIVILEGES ON shopware.* TO 'shopware'@'localhost'; FLUSH PRIVILEGES; EXIT; -
Web Server Configuration
-
- For Apache: Make sure the rewrite module is enabled and configure your virtual host to point to Shopware's public (public) directory.
 ServerName "_HOST_NAME_"
 DocumentRoot _SHOPWARE_DIR_


  Options Indexes FollowSymLinks MultiViews
  AllowOverride All
  Order allow,deny
  allow from all


 ErrorLog ${APACHE_LOG_DIR}/shopware-platform.error.log
 CustomLog ${APACHE_LOG_DIR}/shopware-platform.access.log combined
 LogLevel debug
Keep in mind that the DocumentRoot in the example above does not point to the folder /public in the Shopware 6 installation directory. Inside the public folder are the user frontend files and the administration interface, but both features are available only after you complete the installation. So, once the installation is complete, you need to direct the DocumentRoot a SHOPWARE_DIR/public. This is necessary so that your customers do not have to access the store via https://shop.marcorinaldi.us/public, for example. Shopware 6 will notify you of this need after installation.
-
- For Nginx: You will need to add a specific configuration for Shopware in your Nginx server configuration. You can find an example configuration below.
server {
    listen 80;
    server_name shopware.yourdomain.com;
    index index.php;
    client_max_body_size 128M;
    root /var/www/html/shopware/public;

location /recovery/install {
    index index.php;
    try_files $uri /recovery/install/index.php$is_args$args;
    }

location /recovery/update/ {
   location /recovery/update/assets {
   }
   if (!-e $request_filename){
      rewrite . /recovery/update/index.php last;
   }
}


location / {
    try_files $uri /index.php$is_args$args;
    }


location ~ ~ \.php$ {
    fastcgi_split_path_info ^(.+\.php)(/.+)$;
    include fastcgi.conf;
    fastcgi_param HTTP_PROXY "";
    fastcgi_buffers 8 16k;
    fastcgi_buffer_size 32k;
    fastcgi_read_timeout 300s;
    client_body_buffer_size 128k;
    fastcgi_pass unix:/run/php/php8.1-fpm.sock;
    http2_push_preload on;
    }
}

Installation via Web Interface
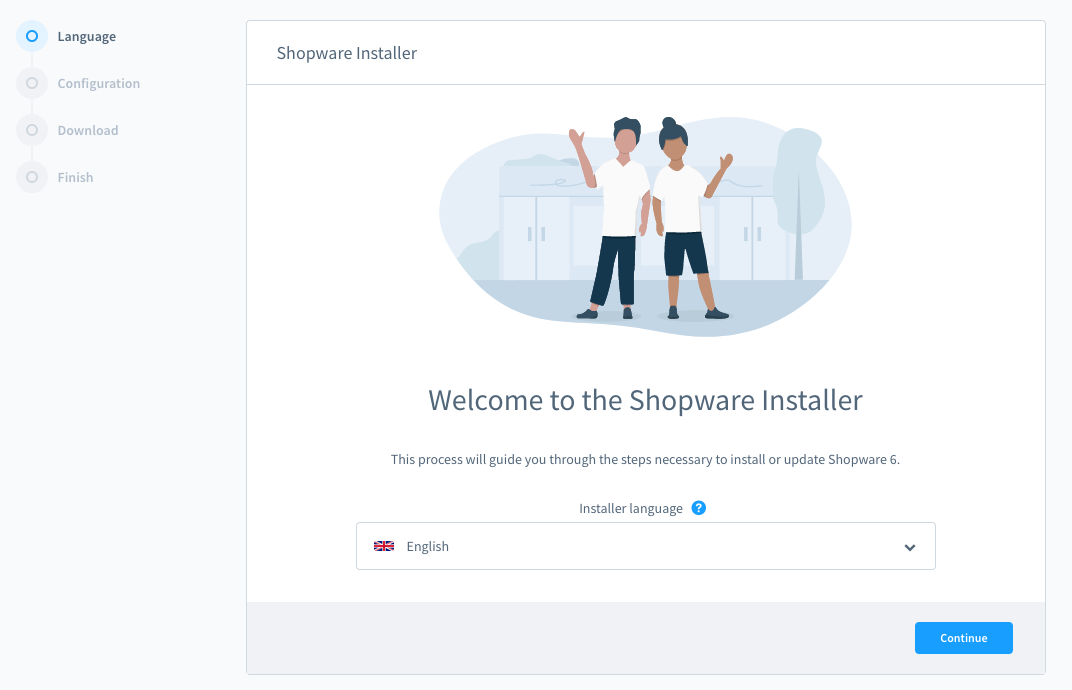
After setting up the web server, open your browser and go to the URL of your Shopware site. You will be redirected to the Shopware installation assistant. Follow the instructions provided by the assistant:
-
- Agree to the terms and conditions.
- Fill in the database details with the data from the database you created earlier.
- Configure administrative information for your Shopware store.
- Complete the installation.
Conclusion of Installation
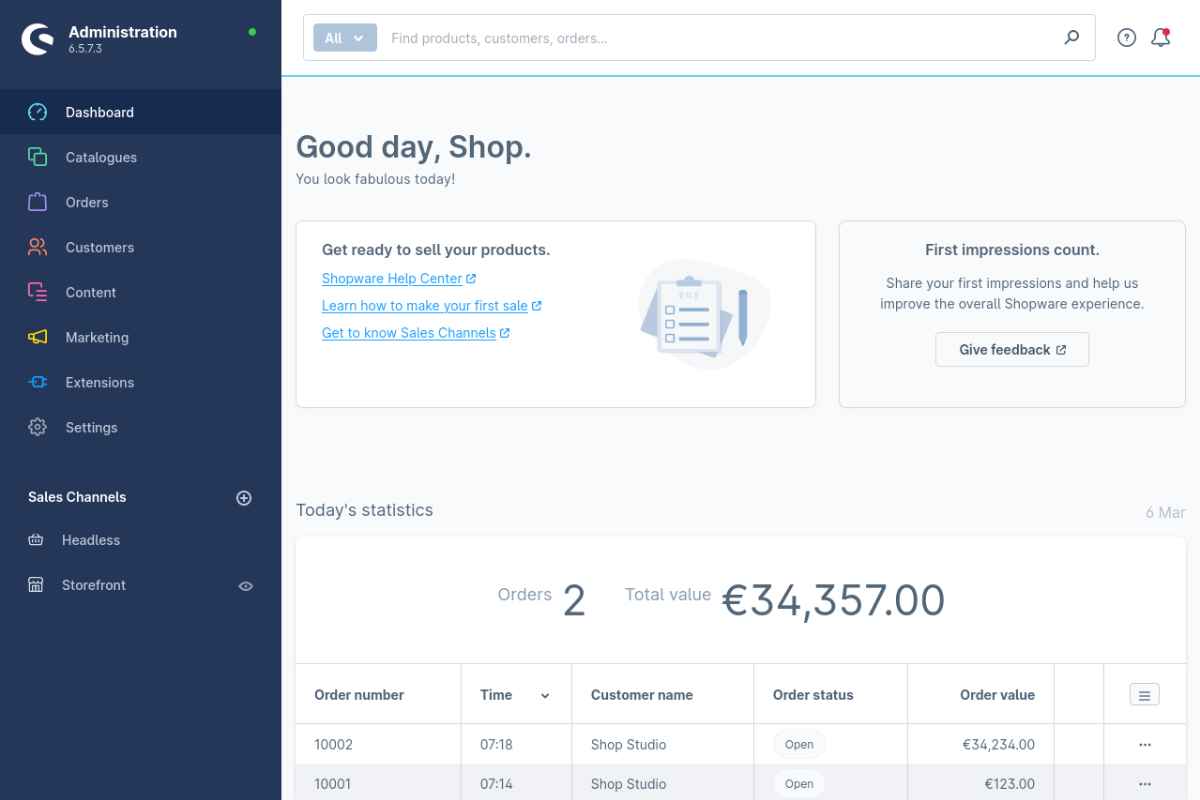
Once the installation is complete via the web interface, you will be able to access the Shopware backend using the credentials you configured during installation. From here, you can start customizing your store, adding products and configuring settings as needed.
By following these steps, you will be able to install Shopware 6 on your Linux hosting server and start building your e-commerce site. Remember to always consult the official documentation for the most up-to-date instructions and server-specific configurations.
Shopware Installation with Docker
Installing Docker on Ubuntu 22.04
First, we need to make sure that Docker is installed on your system. In this tutorial I will assume you are using an LTS version of Ubuntu. Docker will allow us to run Shopware in a container, simplifying installation and management.
These commands will install the official docker repositories and its latest version.
sudo apt update
sudo apt install apt-transport-https ca-certificates curl software-properties-common
curl -fsSL https://download.docker.com/linux/ubuntu/gpg | sudo apt-key add -
sudo add-apt-repository "deb [arch=amd64] https://download.docker.com/linux/ubuntu $(lsb_release -cs) stable"
sudo apt update
sudo apt install docker-ce
sudo systemctl status docker
Now docker is installed on our system!
Quickly install a trial version of Shopware
We can proceed to quickly install a trial version of Shopware.
docker run --rm -p 80:80 dockware/dev:latestThe flag --rm means that once the container is stopped, all data will be deleted. The command just above as mentioned above should be used only for a quick test, if you want to use docker and Shopware in production read on.
Once entered, the docker command should return something like this:
SUCCESS - Shopware is now ready!
-----------------------------------------------------
SHOP URL: http://localhost
ADMIN URL: http://localhost/admin
ADMINER URL: http://localhost/adminer.php
MAILCATCHER URL: http://localhost/mailcatcher
Install Shopware with docker-compose
Now that we are warmed up we can get serious. To install a version in a production environment I recommend using docker-compose. Let's place ourselves in a folder dedicated to the project and create the file docker-compose.yml
mkdir /home/user/shopware
cd /home/user/shopware
nano docker-compose.yml
Here is a template for Shopware to use with docker-compose
version: "3"

services:

    shopware:
      # Use the tag "latest" or any other version such as "6.5.3.0", ...
      image: dockware/dev:latest
      container_name: shopware
      ports:
         - "80:80"
         - "3306:3306"
         - "22:22"
         - "8888:8888"
         - "9999:9999"
      volumes:
         - "db_volume:/var/lib/mysql"
         - "shop_volume:/var/www/html"
      networks:
         - web
      environment:
         # default = 0, should be OFF for frontend devs
         - XDEBUG_ENABLED=1
         # default = latest version of PHP, optional = specific version
         - PHP_VERSION=8.1

volumes:
  db_volume:
    driver: local
  shop_volume:
    driver: local

networks:
  web:
    external: false
Let's change the values we are interested in, once everything is set up we just need to start the containers and start using Shopware
docker-compose up -d
If all has gone well we should be able to access the Shopware frontend without any problems via the server ip or domain if you have already pointed to one. Remember that docker is often treated as a developer platform and it is not always the case to use it in production. Remember to plan a backup and data retention strategy to avoid nasty surprises.

